
If you are following my articles, then you might understand how I had configured the MetaMask with a custom private Ethereum node using Geth.
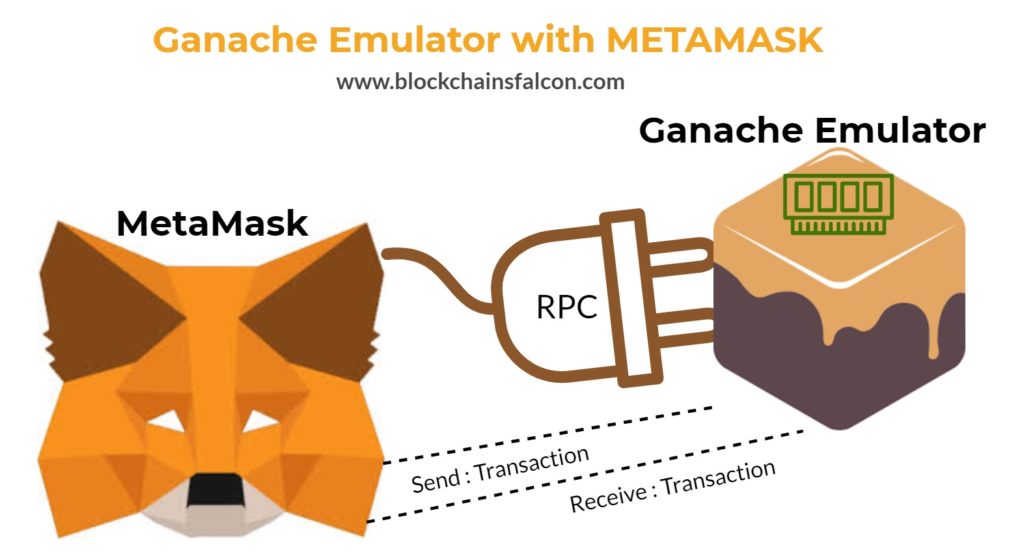
In this article, I will discuss Ganache which is an emulator for mimicking as the Ethereum node. Ganache provides in-memory blockchain facility which is an excellent tool for the development and debugging. Because it generates the in-memory blockchain, therefore it is swift for the smart code development purposes.
Since it only emulates as the Ethereum node, therefore once it is restarted, then it forgets the last status which you have saved like a chain of records or your installed smart contracts.
By default configuration, It does not take time to perform proof of work consensus since it is providing fake emulation of Ethereum network.
Before you start reading further, make sure to visit my previous article on how to download and install Ganache from truffle framework website.
Ethereum Blockchain Development Tools and Ubuntu
I am assuming that MetaMask plugin is already installed or a brave browser is configured in the system for making transactions.
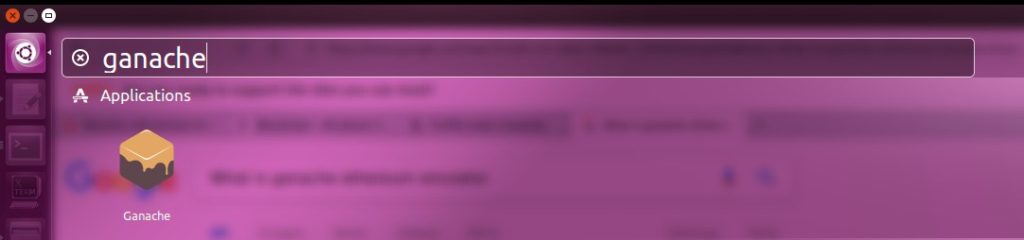
1 – Explore the Ganache
Now click the ganache ICON and run the emulator. You will see following items as below.
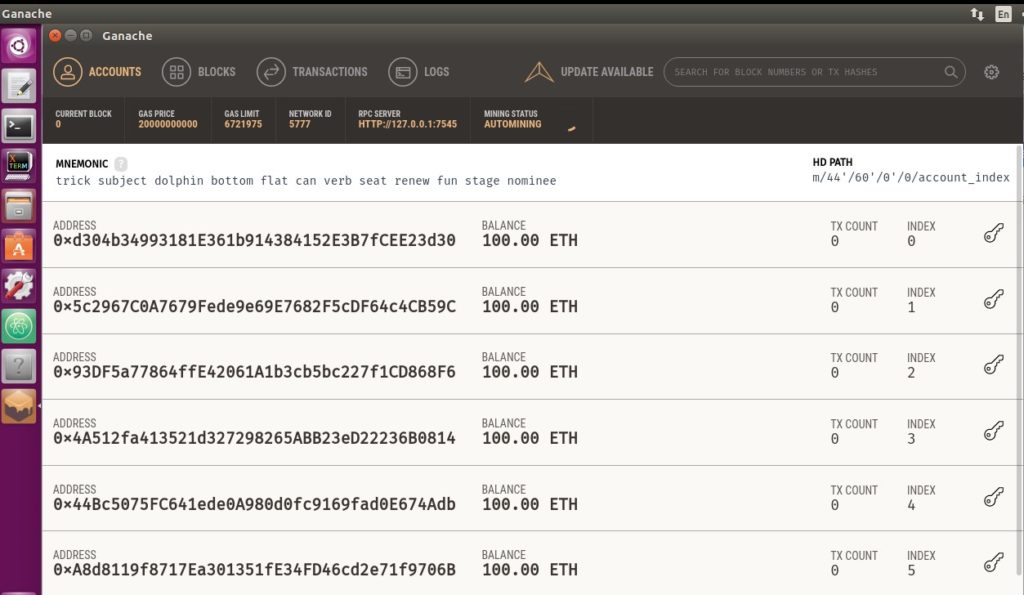
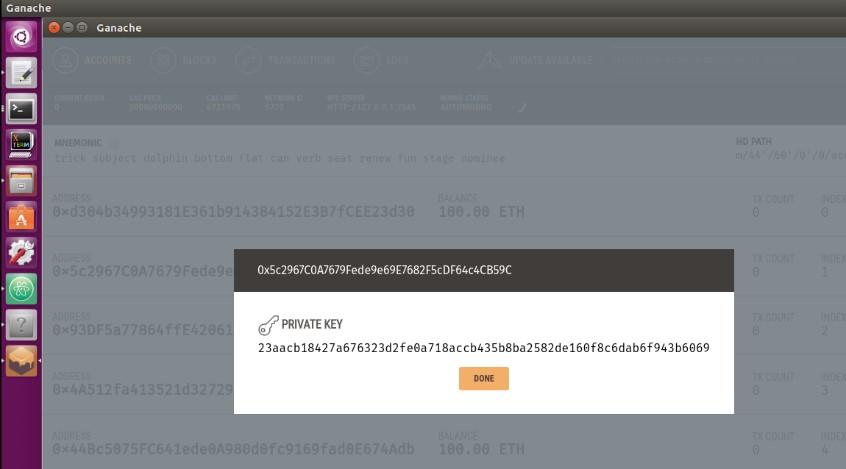
When you run Ganache for the first time, then by default it will generate ten different or unique accounts. Each account wallet will contain 100 ETH in advance.
There will be some MNEMONIC words in the white bar for instance “Trick subject dolphin bottom flat can verb seat renew fun stage nominee”; these default words are used in generating new accounts.
Remember, whenever you will restart or run ganache emulator, then you will find same addresses account. Unlike official Geth client, ganache is a fake client to test and develop smart contracts.
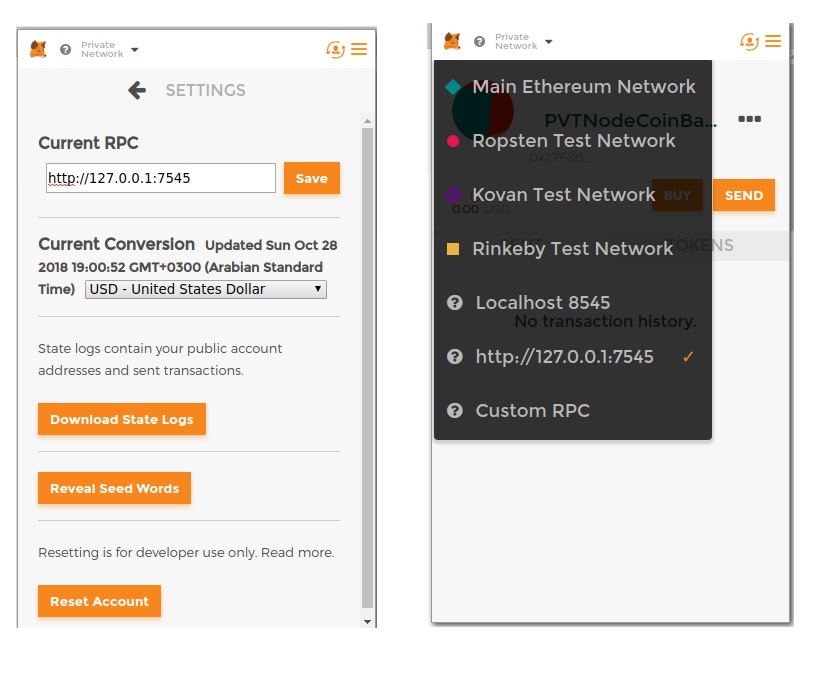
2 – Connect MetaMask with Ganache
The RPC Server address shows the endpoint link; this link will be used for the connections. Now open the MetaMask and inside the settings put http://127.0.0.1:7545 as a new RPC address. Now click the network drop down and select the new custom network.

3 – Import Ganache Accounts into the MetaMask
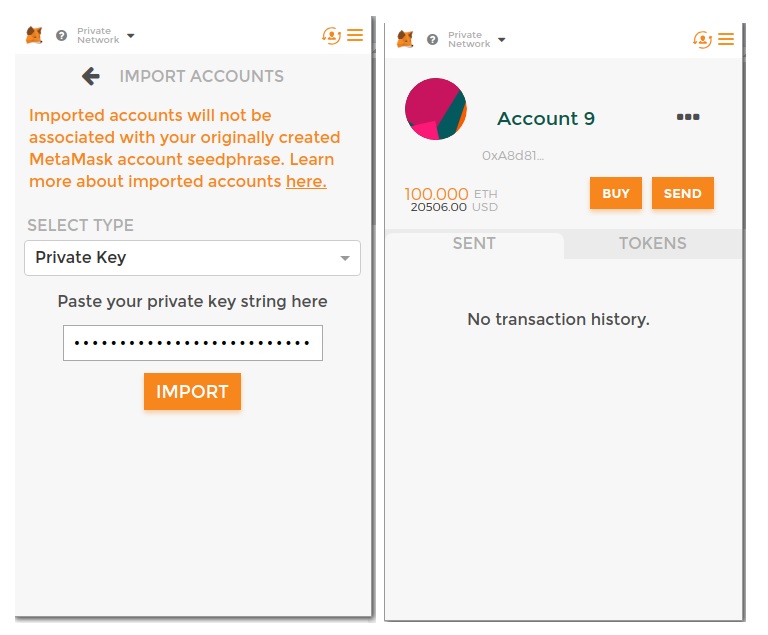
There is a key symbol beside each account, click one of the account address and copy the private key. Now open MetaMask settings and click the option of import accounts. Inside the “Private Key” field, just paste the copied key information.
After a successful import, you will see the new account address with the 100 ETH. This balance shows that MetaMask is correctly connected to the emulator.
4 – Send Some Ethers to another account
Make sure to import more accounts so you can make send or receive transactions using Ethers from each other.
In the above example, I have sent 40 Ethers to another ganache account. Now the remaining balance is 59.999 Ethers. By the way, there is no mining behind this transaction since it is an in-memory blockchain emulator.
5 – Explore the latest block on Ganache
Now click the “Blocks” icon on the Ganache, you will see new transactions. In my case, block 1 is the latest block made after the first transaction between two accounts. The gas is used for 2100 Wei, now click the block to see more detail information.
Finally, now you know how to use Ganache, which will be very useful for a smart contract development. Use this tool and test it thoroughly. In my next blog, I will use Ganache for an initial Smart Contract testing.

